
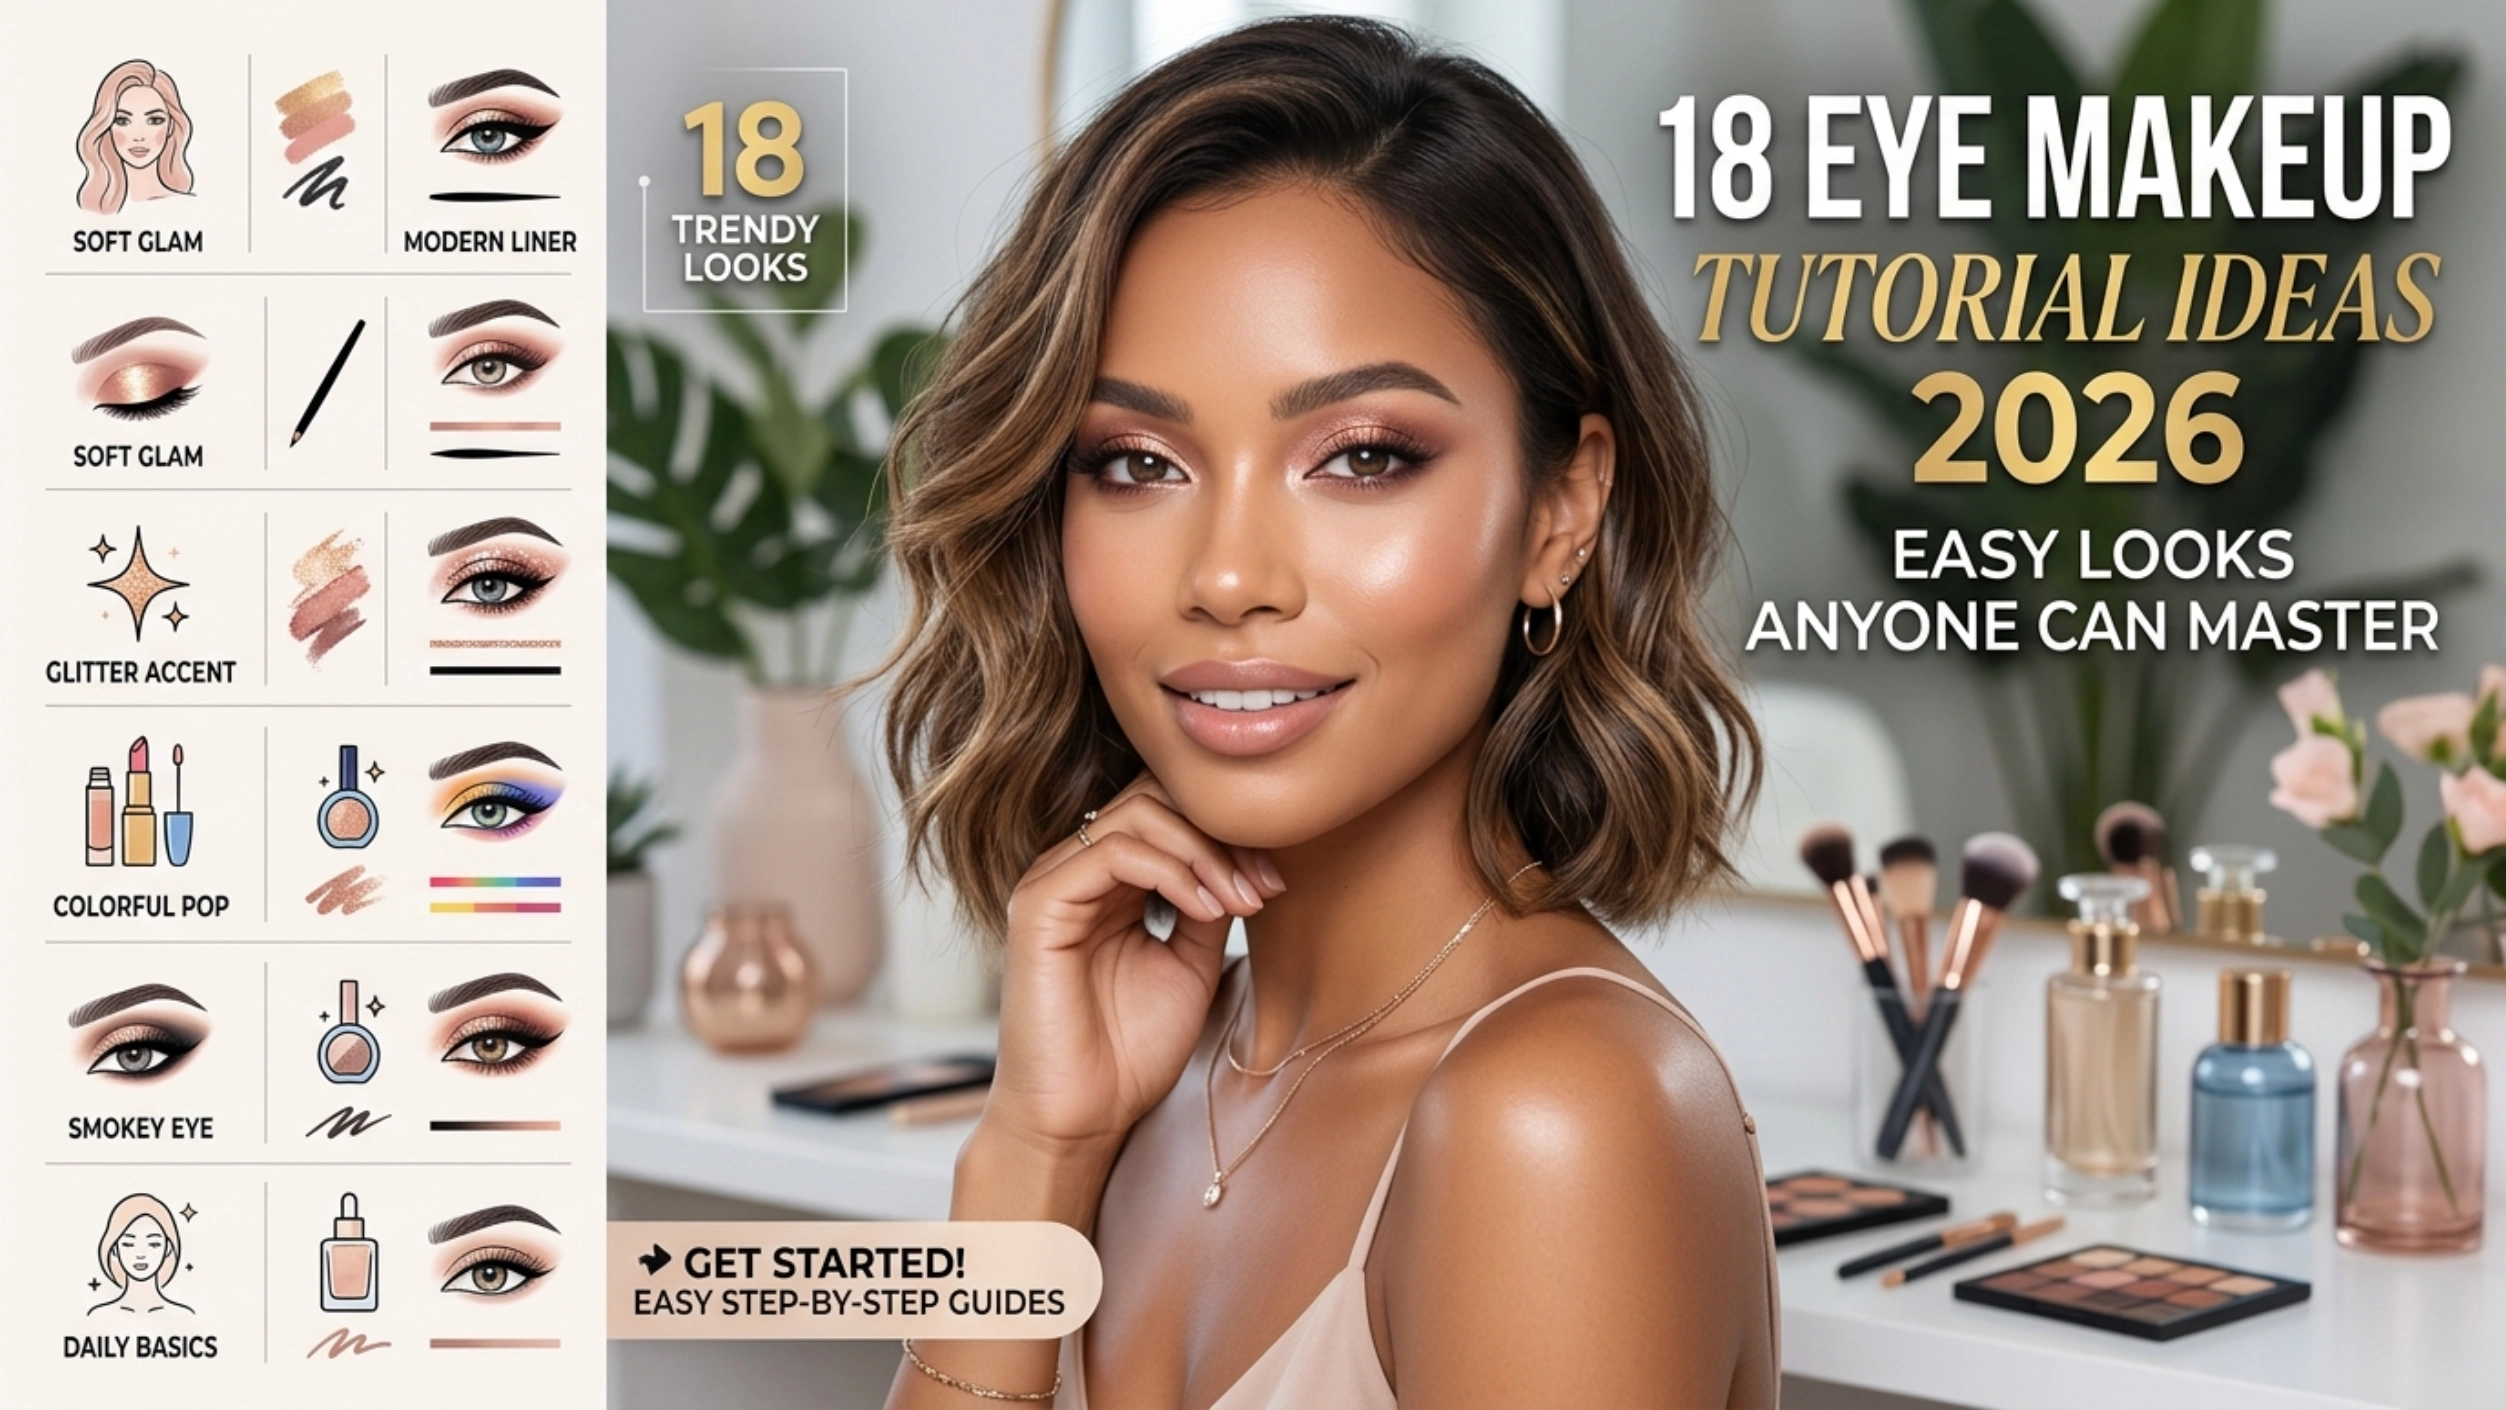
18 Eye Makeup Tutorial Ideas 2026 | Easy Looks Anyone Can Master

If there is one part of makeup that intimidates people more than any other, it is the eyes. Lipstick is easy. Foundation makes sense. But eye makeup? Blending, layering, liner angles, the difference between a smoky eye and a cut crease — it can feel genuinely overwhelming, especially if you are still figuring out what works for your eye shape and your personal style.
Here is the good news: every single eye makeup look you have ever admired started as a tutorial that someone broke down into manageable steps. There is no eye makeup look so complicated that it cannot be learned, practiced, and eventually done in five minutes flat once you understand the technique behind it.
In this article, we have put together 18 eye makeup tutorial ideas for 2026 that cover everything from the simplest five-minute everyday looks to more elaborate, special-occasion designs. Each one comes with real, practical guidance — the actual steps, the actual products, and the actual technique tips that will help you genuinely master the look rather than just admire it from a distance.
Let’s get those eyes ready.
Why Learning Eye Makeup Tutorials Is Worth the Effort

Eye makeup has more transformative power than almost any other part of a makeup routine. The right eye look can make your eyes appear larger, more lifted, more defined, or more dramatic — and it can completely change the overall feeling of your makeup from soft and natural to bold and editorial, all without touching another product on your face.
Learning eye makeup tutorials is also one of the best investments you can make in your overall beauty routine because the skills transfer. Once you understand how to blend eyeshadow properly, that skill applies to every single eyeshadow look you will ever attempt for the rest of your life. Once you master a winged liner technique, you can adjust the wing length, thickness, and angle for dozens of different variations using the same fundamental skill.
In 2026, eye makeup trends are leaning toward techniques that celebrate individual eye shape rather than forcing every face into the same formula. Tutorials are increasingly focused on customization — how to adapt a smoky eye for hooded eyes, how to adjust a cat eye for downturned eyes, how to make a cut crease work on monolids. This list reflects that approach, with practical guidance for making each look work for you specifically.
Read More: 21 Makeup Dark Feminine Ideas
18 Eye Makeup Tutorial Ideas for 2026

1. The Five-Minute Everyday Neutral Eye

This is the eye makeup tutorial everyone should master first, because it is the foundation that almost every other look builds on. A neutral eye uses two to three shades from the same warm or cool family to add gentle definition without looking like you are wearing much makeup at all.
Start by applying a soft transition shade — a light, matte brown or taupe — into the crease using a fluffy blending brush, sweeping back and forth to soften any harsh edges. Add a slightly deeper shade just on the outer corner of the eye for gentle depth, and a shimmer or satin shade on the center of the lid for a little light reflection. Finish with a thin coat of mascara.
The entire technique takes about five minutes once you have practiced it a few times, and it is genuinely the most useful eye makeup tutorial to know because you can wear this look literally anywhere — work, school, errands, dates — without anyone thinking you are wearing “eye makeup” at all. It just looks like your eyes, but better.
Best for: Beginners, everyday wear, professional settings, low-maintenance mornings.
2. Classic Soft Smoky Eye Tutorial
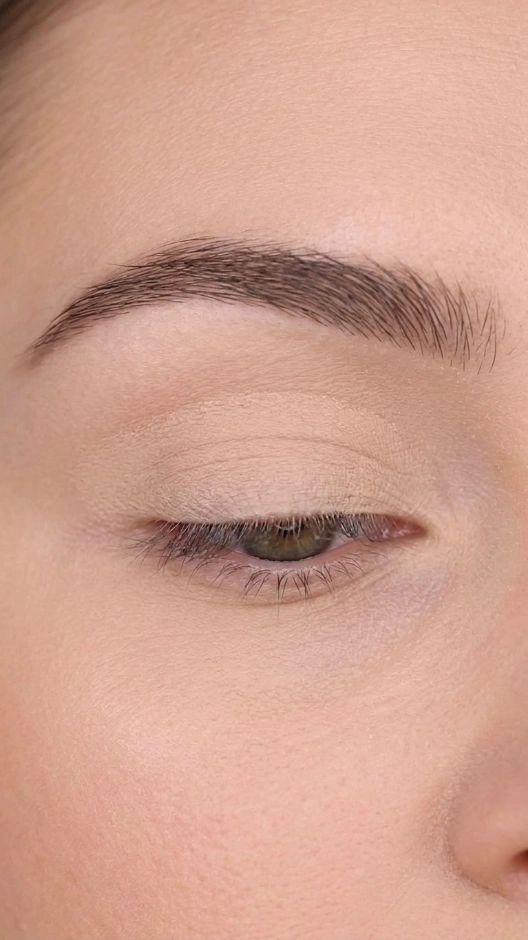
The smoky eye has a reputation for being difficult, but the truth is that a soft, wearable version of this classic look is genuinely achievable for anyone willing to practice the blending technique a few times. The key insight that makes this eye makeup tutorial click for most people is understanding that smoky eyes are built in layers, not applied all at once.
Begin with a transition shade in the crease, just like the neutral eye. Then take a medium-toned matte brown and apply it to the outer third of the lid, blending in a windshield-wiper motion to soften the edge. Add a deeper shade — black, charcoal, or deep brown — just along the lash line and slightly into the outer corner, building gradually rather than applying it all at once. Smudge a dark kohl pencil along the lower lash line and blend with a small pencil brush.
The biggest mistake people make when attempting a smoky eye for the first time is applying the darkest shade too early and too heavily. Build the intensity gradually, blending between each addition, and you will end up with a smoky eye that looks soft and professional rather than harsh and uneven.
Best for: Evening events, date nights, building blending confidence, all eye shapes.
3. Winged Eyeliner Tutorial for Beginners

Winged eyeliner is probably the single most requested eye makeup tutorial topic, and for good reason — a clean, symmetrical wing is one of the most universally flattering and most confidence-boosting makeup techniques there is. It is also one of the most frequently botched on the first several attempts, which is exactly why a proper tutorial matters so much.
Start with a small piece of tape or a credit card angled from the outer corner of your eye toward the end of your eyebrow to use as a guide for your wing angle — this single trick eliminates most of the difficulty beginners experience. Draw a thin line along this guide from the outer corner outward, then connect it back to your lash line with a small triangle shape. Fill in the triangle and then draw your liner along the rest of the lash line, connecting everything into one smooth line.
Use a liquid or gel liner with a fine, controlled tip rather than a thick brush for the most precision. Practice on paper first if you are nervous — drawing the wing shape repeatedly on a piece of paper builds the muscle memory your hand needs before you commit to your actual eyelid.
Best for: Building precision skills, classic glamorous looks, all eye shapes with technique adjustment.
Read More: 21 Best Natural Bronzy Makeup Look Ideas
4. Cut Crease Eye Makeup Tutorial

The cut crease is one of the more advanced eye makeup tutorials on this list, but it produces one of the most dramatic and most impressive results — a sharp, defined line between the lid and the crease that makes the eyes look incredibly structured and editorial.
To create a cut crease, first apply a concealer or a light, matte eyeshadow over the entire lid as your base. Using an angled brush and a deeper crease shade, draw a precise line that follows the natural shape of your crease, then fill everything above that line with the deeper color while keeping the lid itself clean. The contrast between the clean, light lid and the deep, defined crease creates the cut crease effect.
The technique that makes the biggest difference in this eye makeup tutorial is using a small, flat, angled brush for the precise crease line rather than a fluffy blending brush, which will soften the line you are specifically trying to keep sharp. Patience and a steady hand matter more here than in almost any other eye look — go slowly and build the line gradually rather than trying to get it perfect in one stroke.
Best for: Advanced makeup lovers, special occasions, dramatic editorial looks, hooded eyes.
5. Glitter Eye Tutorial for Special Occasions

A glitter eye look transforms any eye makeup into something celebratory and eye-catching, and once you know the right technique, it is genuinely one of the easier dramatic looks to execute. The secret to a beautiful glitter eye is using a glitter glue or a clear eyeshadow primer specifically designed to hold loose or pressed glitter in place.
Apply your base eyeshadow look first — a smoky eye or a simple neutral transition shade works perfectly as a foundation. Then apply glitter glue to the center of the lid using a flat synthetic brush, and press your glitter directly onto the glue using a damp brush or your fingertip, packing it on rather than sweeping it across. Allow it to set for a few seconds before opening your eye to avoid fallout.
To prevent glitter fallout onto your cheeks during application — one of the most common frustrations with this eye makeup tutorial — apply a thick layer of setting powder or a tissue strip under your eyes before you begin, then simply brush or wipe away any fallout once you are finished applying the glitter.
Best for: New Year’s Eve, parties, festivals, celebratory and bold occasions.
6. Halo Eye Eyeshadow Tutorial

A halo eye places the lightest, most shimmery shade in the very center of the lid, surrounded by deeper color on the inner and outer corners, creating a beautiful, dimensional, eye-opening effect that is genuinely one of the most flattering eye makeup tutorials for almost every eye shape.
Begin by applying your deepest shade to the outer corner of the eye and blending it inward and upward into the crease. Apply the same or a similar deep shade to the very inner corner of the eye as well. Then take your lightest, most shimmery shade and pack it directly into the center of the lid, blending the edges gently into the darker corners on both sides so the transition feels seamless rather than abrupt.
The halo eye eyeshadow tutorial works so well because the light center shade catches light and makes the eyes look larger and more awake, while the darker corners add definition and depth without overwhelming the entire lid. It is a genuinely versatile technique that works beautifully whether you keep the colors neutral or go bold with contrasting bright shades.
Best for: Eye-opening effect, hooded and almond eyes, versatile color experimentation.
7. Monolid Eye Makeup Tutorial

Monolid eyes — where there is no visible crease when the eye is open — deserve specific technique guidance because many standard eyeshadow tutorials are designed around a visible crease line that simply is not there to work with. The good news is that monolid eyes are incredibly versatile for eye makeup once you understand the right approach.
For a monolid eye makeup tutorial, focus on applying color in horizontal bands rather than relying on a crease for placement guidance. Apply your lightest shade across the entire lid as a base, then build a medium shade starting from the lash line and blending upward, creating your own visual “crease” through shading rather than following a physical line. Winged eyeliner looks particularly stunning on monolid eyes — extend the liner slightly upward at the outer corner to add lift.
Tightlining — applying eyeliner directly to the upper waterline to make lashes appear to grow directly from the lash line with no visible gap — is also an especially effective technique for monolid eyes, creating definition without disrupting the natural, beautiful shape of the eye.
Best for: Monolid eyes, building shape through shading, winged liner emphasis.
8. Hooded Eyes Eye Makeup Tutorial

Hooded eyes — where the brow bone skin partially covers the crease, especially when the eyes are open — require some specific technique adjustments, and a dedicated eye makeup tutorial for this eye shape makes an enormous difference in how the final look actually appears once your eyes are open rather than just when you are looking down in the mirror.
The most important technique for hooded eyes is placing color higher than feels natural at first. Apply your transition and crease shades slightly above where you can see your actual crease when looking straight ahead, because that hooded skin will cover some of the color once your eye is fully open. Check your progress with your eyes open regularly throughout application rather than only looking down.
A winged liner that angles upward rather than straight out, combined with a slightly thicker liner application on the outer two-thirds of the eye, helps create visible definition for hooded eyes even when the lid skin covers part of the design. Avoid very thin, precise liner lines that can disappear into hooded lid space — slightly bolder lines tend to read more clearly.
Best for: Hooded eyes, building visible definition, upward winged liner technique.
9. Downturned Eyes Eye Makeup Tutorial

For eyes with a slight downward angle at the outer corners, a specific eye makeup tutorial approach can create significant visual lift and balance. The key technique is using both eyeshadow placement and eyeliner shape strategically to counteract the natural downward angle.
Apply slightly more eyeshadow intensity to the outer upper corner of the eye, extending the color slightly beyond the natural outer corner and angling it upward toward the end of the eyebrow. For eyeliner, draw your wing starting from a point lower on the lash line and angling it upward more dramatically than you would for a straight-angled wing — this creates the illusion of lift that balances the natural downturn.
On the lower lash line, keep eyeliner and shadow application lighter and stop it slightly before reaching the outer corner, rather than extending dark color all the way to meet the upper wing. This prevents the lower lash line color from emphasizing the downward angle and instead allows the upward-angled upper wing to be the dominant visual element.
Best for: Downturned eyes, creating visual lift, strategic liner placement.
10. Bold Colorful Eyeshadow Tutorial

Moving beyond neutrals into bold, saturated color is one of the most fun and most rewarding eye makeup tutorials to master, and 2026 is a particularly good year to learn this technique as colorful eye makeup is having a major moment across fashion and beauty.
Choose two or three complementary or contrasting bold shades — perhaps a vivid teal, a deep purple, and a warm gold, for example. Apply the lightest or most neutral of your bold shades across the lid as a base. Build your most saturated color into the outer corner and crease, blending carefully to avoid muddying the vibrancy of the pigment. Use a separate clean brush for each color to prevent the shades from mixing and becoming dull.
The technique that makes the biggest difference in a colorful eyeshadow tutorial is using an eyeshadow primer before you begin. Bold, pigmented shadows perform dramatically better — staying vivid and true to color rather than fading or becoming patchy — when applied over a proper primer base rather than directly onto bare skin.
Best for: Color experimentation, festivals and parties, bold personal expression.
11. Soft Glam Eye Makeup Tutorial

Soft glam is the eye makeup category that bridges natural everyday looks and full glamorous makeup — it has more visible definition, shimmer, and intentional styling than a basic neutral eye, but it is still wearable and not overly dramatic. It is genuinely one of the most useful eye makeup tutorials to master because it works for so many real-life occasions.
Build a neutral base with a soft transition shade, then add a warm, shimmery champagne or bronze shade to the center of the lid for that signature soft glam glow. Define the crease with a deeper brown, and add a thin, slightly winged liner along the upper lash line. Apply a few individual false lashes at the outer corner, or simply add an extra coat of volumizing mascara if you prefer to skip lashes.
Soft glam eye makeup tutorials are particularly popular because the final look photographs beautifully — the shimmer catches light in photos in a very flattering way — while still being comfortable and natural enough to wear for an entire evening without feeling like you are wearing “too much” makeup.
Best for: Date nights, dinners, events, a balance of natural and glamorous.
12. Graphic Eyeliner Tutorial

Graphic eyeliner — bold, geometric liner shapes that go beyond the traditional wing into more artistic and abstract territory — is one of the most exciting and most creative eye makeup tutorial categories trending in 2026. Floating liner, double wings, geometric cutouts, and colorful liner shapes are all part of this broader trend.
A great beginner graphic liner tutorial involves a “floating” liner technique — drawing a winged shape slightly above the natural crease, leaving a gap of bare or shadowed skin between the floating liner and the lash line liner below it. This creates a very modern, very editorial effect that is significantly easier to execute than it might initially appear.
The most important tool for graphic eyeliner tutorials is a liquid liner with a very fine, very precise tip, which allows for clean lines and sharp geometric edges. Practice your intended shape on paper or the back of your hand before committing to your actual eyelid, and consider using small pieces of tape as stencils for very precise geometric shapes like triangles or sharp angles.
Best for: Creative expression, advanced liner skills, editorial and artistic looks.
13. Brown Smoky Eye Tutorial
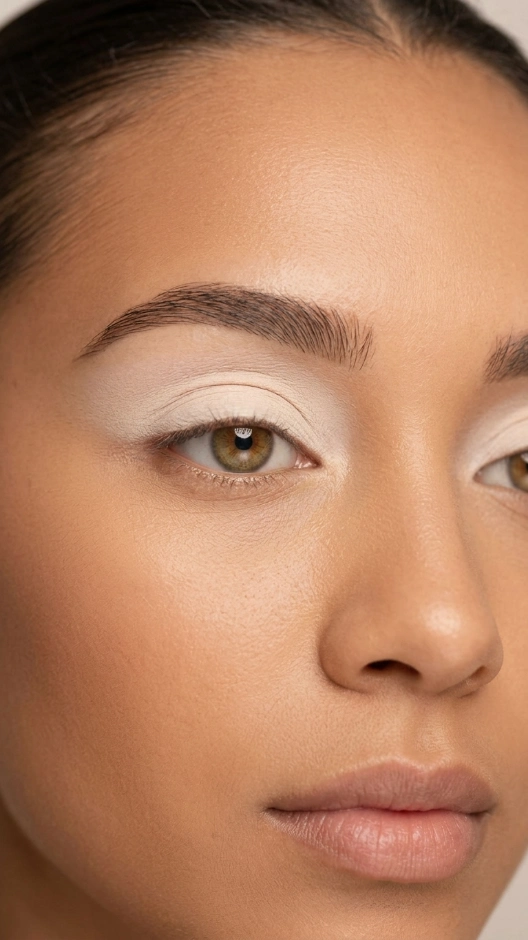
A brown smoky eye is one of the most universally flattering and most office-appropriate dramatic eye makeup tutorials available — it has all the definition and depth of a classic black smoky eye but with a warmer, softer, more wearable overall effect that suits an enormous range of occasions.
Build your brown smoky eye using a palette of warm-toned browns — a light tan transition shade, a medium chestnut for the crease, and a deep espresso or chocolate brown for the outer corner and lash line. Blend thoroughly between each shade using a clean fluffy brush, and smudge a brown kohl pencil along both the upper and lower lash lines for that signature smoky softness.
The brown smoky eye tutorial is particularly valuable to learn because brown tones are universally flattering across every eye color — they enhance blue and green eyes through complementary color contrast, and they create a beautiful, rich harmony with brown eyes. It is the smoky eye variation most people can wear successfully on the very first attempt.
Best for: Workplace-appropriate drama, all eye colors, versatile everyday glamour.
14. Eyeshadow Tutorial for Small Eyes

For people with smaller or more deep-set eyes, specific eye makeup tutorial techniques can create the appearance of larger, more open eyes through strategic use of light and shadow. This is less about changing the eye shape and more about working skillfully with the proportions you naturally have.
Apply a very light, shimmery shade across the entire lid and into the inner corner — this reflects light and creates the illusion of more space and openness. Keep darker colors limited to a thin line along the outer corner rather than covering the whole crease, which can make smaller eyes look more closed off rather than more open. White or nude eyeliner on the lower waterline also creates significant visual enlargement.
Curling your lashes and applying mascara primarily to the outer lashes, with slightly more length and volume toward the outer corner, draws the eye outward and creates additional visual width. This eye makeup tutorial approach genuinely works — it is a technique used by professional makeup artists specifically for this purpose, and it makes a visible difference once you try it.
Best for: Smaller and deep-set eyes, light-reflecting techniques, eye-opening effects.
15. Eyeshadow Tutorial for Round Eyes

Round eyes have a naturally open, youthful quality, and the right eye makeup tutorial technique can either enhance that roundness for a doll-like effect or elongate the eye shape slightly for a more almond-like, elongated appearance, depending on your personal preference.
To enhance natural roundness, keep eyeliner close to the lash line with minimal winging, and apply shadow in a circular blending motion that follows the natural round shape of the eye. To elongate round eyes, extend your eyeliner past the outer corner in a defined, elongated wing, and concentrate your darkest eyeshadow shade specifically at the outer corner, blending it outward and slightly upward rather than circular blending.
Both approaches are valid eye makeup tutorial directions for round eyes — there is no single “correct” way to do round eye makeup. The technique you choose should depend entirely on the specific effect you personally want to achieve, whether that is emphasizing the natural sweetness of round eyes or creating a more elongated, sultry shape.
Best for: Round eyes, customizable shape enhancement, personal preference flexibility.
16. Quick Mascara and Liner Only Look

Sometimes the best eye makeup tutorial is the one that teaches you how to look polished without any eyeshadow at all. A well-executed mascara and liner only look is genuinely one of the most underrated and most practical eye makeup skills, perfect for busy mornings or anyone who simply prefers a more minimal approach.
Curl your lashes first — this single step makes an enormous visual difference even without any other product. Apply a thin line of eyeliner as close to the lash line as possible, using small, connected strokes rather than one long line for the most precise application. Finish with two coats of a volumizing or lengthening mascara, wiggling the wand at the base of the lashes before sweeping upward and outward.
This eye makeup tutorial takes under two minutes once you have practiced the technique a few times, and it creates a genuinely polished, “your eyes but better” effect that works for literally any occasion. It is also an excellent skill to master because it forms the finishing step of almost every other eye makeup look on this list.
Best for: Quick mornings, minimal makeup days, foundational skill building.
17. Eyeshadow Tutorial Using Only Three Products

This eye makeup tutorial is specifically designed for anyone who finds full eyeshadow palettes overwhelming or who simply wants to streamline their routine. Using just three products — a transition shade, a deeper crease shade, and a shimmer shade — you can create a genuinely beautiful, complete eye look in under five minutes.
Apply the transition shade across the lid and into the crease as your base, building soft color everywhere. Use the deeper shade only in the outer corner, in a small triangular shape, to add definition without complexity. Apply the shimmer shade to the center of the lid and just below the brow bone for a final touch of light and dimension.
This three-product eye makeup tutorial proves that you do not need an elaborate, multi-step process or a huge palette of colors to create a beautiful, professional-looking eye. Understanding the function of each of these three product categories — transition, definition, and highlight — is honestly the foundation of nearly every eyeshadow look that exists, no matter how complex it eventually becomes.
Best for: Minimalist routines, travel makeup, building foundational understanding.
18. Full Glam Bridal Eye Makeup Tutorial

For the most special occasions — weddings, galas, milestone celebrations — a full glam bridal-style eye makeup tutorial brings together every technique on this list into one polished, long-lasting, photograph-ready final result. This is the eye makeup tutorial for the day you most want to look and feel your absolute best.
Begin with a halo eye base using soft, neutral shimmer and matte shades, building dimension carefully. Add a precise, classic winged liner for definition and elegance. Apply individual false lashes for added length and volume that holds up beautifully through hours of celebration and photography. Finish with a few small, precisely placed rhinestones at the outer corner for subtle, elegant sparkle that catches the light in photographs without looking overdone.
The key to a bridal eye makeup tutorial that genuinely lasts all day is using waterproof and long-wear formulas throughout — waterproof mascara, long-wear liner, and a setting spray applied specifically around the eye area at the end of application. Practice this complete look at least once before the actual event so you feel confident and unhurried when it matters most.
Best for: Weddings, galas, milestone celebrations, long-wearing glamour.
Essential Tools for Following Any Eye Makeup Tutorial
Having the right tools makes every eye makeup tutorial significantly easier to execute well. Here is what is genuinely worth having:
A fluffy blending brush. This is the single most important tool for soft, professional-looking eyeshadow application. It softens harsh lines and blends transition shades seamlessly.
A flat, packing brush. Used for applying pigmented color directly to the lid without diluting it through over-blending. Essential for vibrant colors and shimmer shades.
A small, angled brush. Necessary for precise crease work, cut creases, and detailed liner application in tight spaces like the outer corner and lower lash line.
A pencil brush. Small and tapered, perfect for smudging kohl pencil along the lash line and blending color into small, detailed areas.
Quality eyeshadow primer. Makes an enormous difference in how long your eye makeup lasts and how vibrant your colors appear, regardless of which tutorial you are following.
An eyelash curler. One of the most underrated tools in any makeup kit — curling your lashes before mascara application opens up the eyes significantly, regardless of which eye makeup tutorial you are using.
Tips for Practicing Eye Makeup Tutorials Successfully
Practice on yourself with your eyes open, not just closed. A huge number of eye makeup mistakes happen because people only check their progress with their eyes closed and looking down. Check your progress regularly with your eyes open and looking straight ahead in the mirror, since that is how your makeup will actually be seen.
Use good lighting. Natural daylight or a proper ring light makes an enormous difference in how accurately you can see what you are doing. Makeup applied in dim bathroom lighting often looks very different once you step into natural light.
Build gradually rather than applying everything at once. Almost every eye makeup tutorial works best when you build color and intensity in layers, checking your progress and adjusting as you go, rather than trying to apply a final, intense look in one single step.
Keep cotton swabs and a bit of makeup remover nearby. Small mistakes are completely normal and easily fixed with a precise cleanup tool. Do not let small errors discourage you — they are part of the normal learning process for every single eye makeup tutorial.
Be patient with yourself. Every single beautiful eye makeup look you have ever admired took the person wearing it real practice to master. Give yourself the same grace and the same repeated attempts that any new skill requires.
Final Thoughts
Eye makeup tutorials exist to take something that feels intimidating and break it down into steps that are genuinely achievable, one technique at a time. The 18 eye makeup tutorial ideas in this article cover the full range — from the simplest five-minute everyday looks to elaborate, special-occasion glamour, with specific guidance for different eye shapes along the way.
Pick one tutorial from this list and practice it this week. Then pick another next week. Before long, you will have a genuine repertoire of eye makeup looks that you can execute confidently and quickly, adapted exactly to your eye shape, your skill level, and your personal style.
Your eyes are ready. Now go practice — and have fun with it.


